Wood
Eight steps, and only one of them is the laser.
Wood is the slower of the two. Most of the work happens before and after the engraving — the machine is a single step in the middle of a lot of hand work.
The process
Board to finished panel
Photographs of each stage are coming.
-
01
Select
We pick the board first
Grain direction and figure decide how an engraving will read, so the piece is chosen for the image it will carry.
-
02
Plane
Flatten it
The board is planed down to an even, true surface. Anything left proud will throw off the depth of the engraving.
-
03
Sand
First sanding
Sanded smooth so the laser meets consistent material across the whole face.
-
04
Cut to size
Cut to its final dimensions
Sized before engraving, not after, so the image sits where we intend it to on the finished piece.
-
05
Engrave
Laser engrave
The image is burned in. Depth controls tone, and the grain underneath changes how each pass reads.
-
06
Route
Route the edges
Edges are routed to profile — this is what stops a panel looking like a rectangle someone drew on.
-
07
Sand again
Second sanding
A finer pass to knock back the burn residue and raised grain around the engraving.
-
08
Stain
Stain and finish
Stain last. It settles differently into engraved and un-engraved wood, which is what gives the depth.
Also in wood
Mostly made to order
Things we make on commission rather than list.
Available now
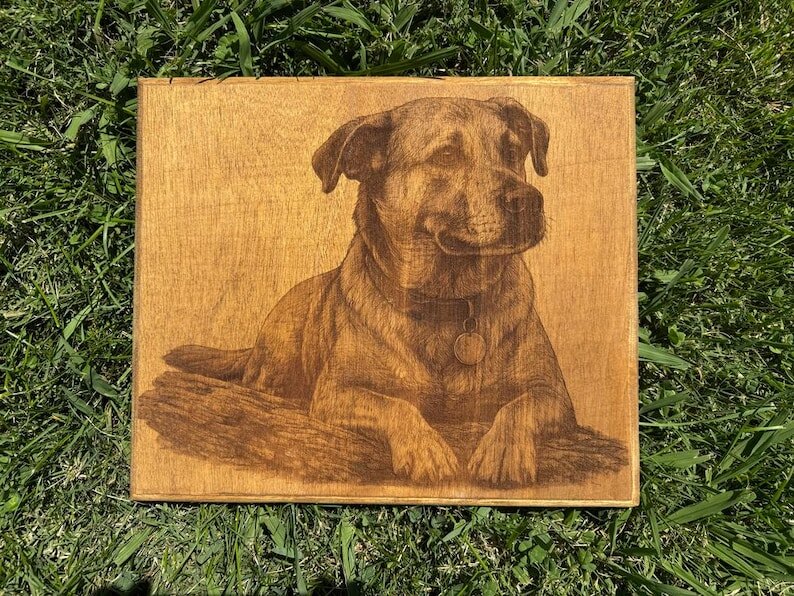
Pet portraits on hardwood
Our most-requested commission. Send one photo, or several and we compose a single portrait from them.
See pet portraitsOn request
Boards, panels and stands
Cutting boards, hardwood wall panels, cut display stands, and framing in stained oak or walnut for tile work.
Ask about wood work